While checking your Instagram or Facebook feed you are sure to come across a constant barrage of food pictures. Almost everyone one these days seem to be clicking photos of the scrumptious food that they eat. While these decadent pictures of juicy burgers and colorful cakes might seem frivolous to some, great food photography is essential for others. Businesses like restaurants, food trucks and bakeries thrive on the strength of their food photography.Instagram Food Photography tips.
A photo that is able to perfectly capture the essence of a dish can make or break a food business’s social media marketing strategy, blog post and product photo. That is why it is so important to make sure that the quality of your food photography meets the standards that customers expect. But, this doesn’t mean that you have to hire a professional food photographer or purchase expensive equipment. Professional looking photos can be shot even with something as simple as a phone camera. So, how do you improve on you food photography beyond the basics? You work on the story!
Here are some tips that you can use to seriously improve your food photography and tell better stories.
⦁ Work in good light:

Food photography always begins with the light. The perfect lighting should be one where it is soft, abundant and angled. You would want to play around with a lot of light but you definitely don’t want direct sunlight streaming on to the scene as it is very contrasty and harsh. The best lighting would be the one facing a window with bright day light outside and only the filtered light comes through. It won’t matter how amazing the food looks on the plate if the light isn’t proper. Good food in bad lighting makes for a failed photo. But, if your lighting is right, almost any food on the plate can be made to look inviting.
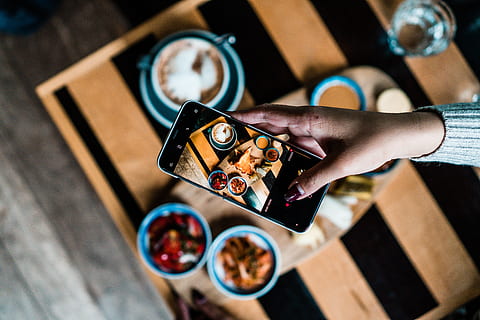
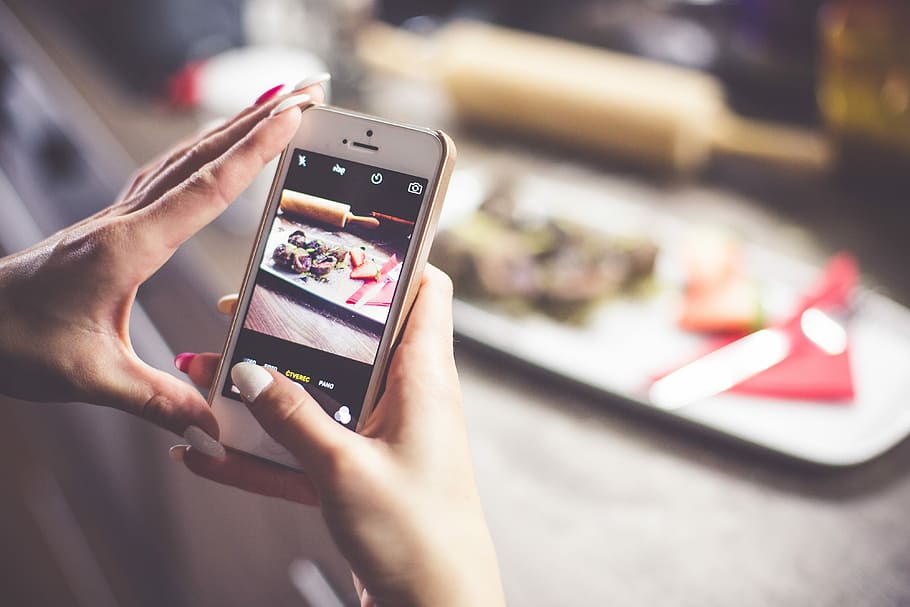
⦁ Choose your angle:
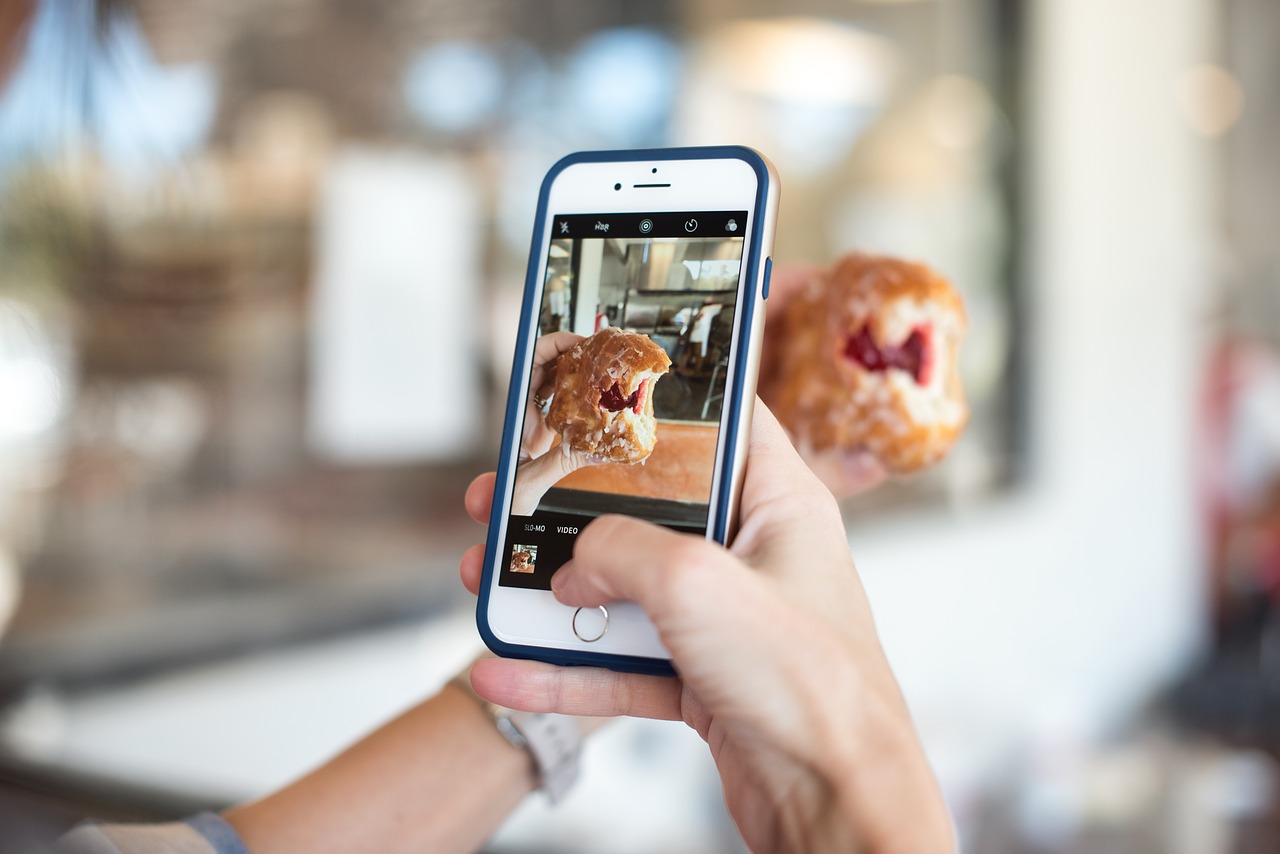
There are really only a few camera angles in food photography that you can see again and again but you need to choose the best angle very carefully. Where you place the camera will affect the type of story you are trying to tell. Think of the food beforehand. Try to visualize its size, shape, height and its unique features. Then place the camera where you think best highlights these qualities. Some dishes look great when you shoot from right in front of it and some dishes look good when you shoot it looking down from directly above the table.
⦁ Surround your Hero:

When you are shooting from front of the food, try to play around with the foreground and the background a little bit. Surround your dish with the ingredients and equipment that you made use of. This adds to the aesthetic of the photograph. The ingredients, sauces and oils could indicate how that particular dish was made.
⦁ Editing your shots:

The treatment of your photo files is just as important as the shoot. The most natural colors often result from going easy on the saturation or even pulling back on it a little. If you are struggling with color balance it is likely that the saturation is a little too much. In very flat light, you may need to bump the contrast a little bit in order to give hardness to the edges. Additionally, shadow detail can be lifted to balance out the scene. Be sure to use selective adjustments to add exposure or more shadow detail if critical elements are lost in shade.
⦁ Consider flash:
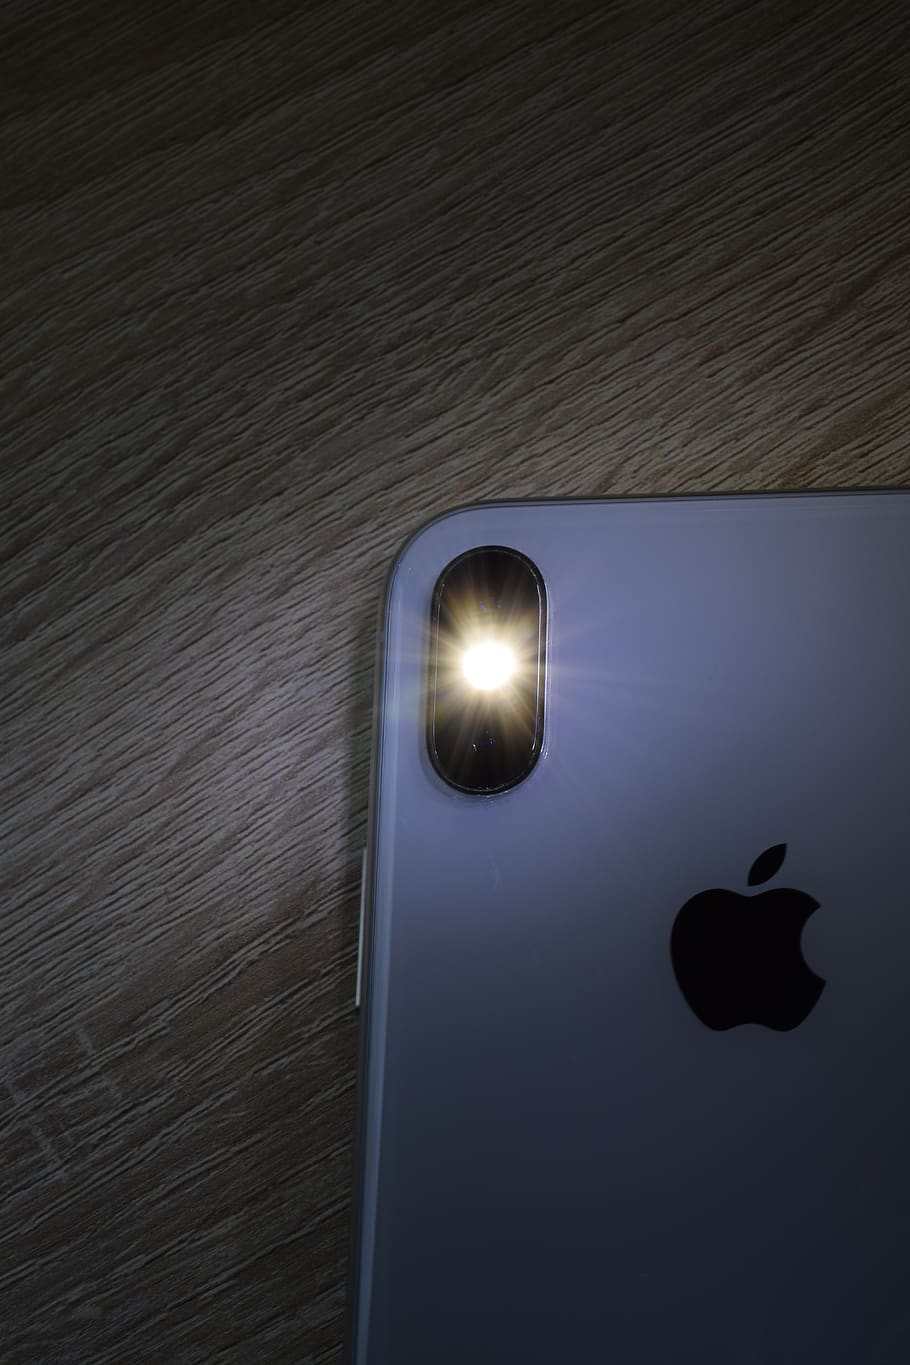
The problem with relying on natural light for food photography is that it isn’t always that natural. You’ll never get a nice clean white light unless you bring your own. Flash gear brings consistency to your photograph and reduces the processing effort. If you are shooting content for several days and you need the look and feel of each frame to be consistent then studio flash is the best option. This is Instagram Food Photography Tips.
Once your flash gear is all set up, you are free to concentrate on your creativity. Scale is critical here. Just as we enjoy soft, abundant, angled light in the window seat of a restaurant, we try to achieve that same result in the studio. A reliable light source is essential but you will also have to consider the shape of the light. You will require a softbox which is very large and used exclusively for food photography and they offer generous amounts of internal diffusion. You need to get the softbox as close to the scene as possible to keep the diffusion to the minimum. If the light shaping boxes are not soft enough and there is too much of contrast in the scene, just simply add an additional diffusing screen between the dish and the flash.
⦁ Include a little action:
Still life doesn’t have to be still when it comes to food. Get a little movement into the scene and bring it to life! The preparation of the dish, the person who has prepared the dish are great elements to include in a photo series. Messy is magic! A sense of chaos in the kitchen or ingredients on a tabletop add interest. Instagram Food Photography Tips.
What makes food photography so different to other genres is the degree of control you have over the subject. You can do just about anything you like to the scene – you can even eat it! It’s easy to control the light over a scene the size of a table, compared to shooting a full studio set or waiting for sunrise over a landscape. The scale and inanimate nature of food photography means you have excellent opportunities for composition. It’s a great genre for exploring the use of color, perspective and repetition.
Credit : Nikitha Nagendran
Also read this :
Oneplus 8 and 8 Pro Price in India